Introduction
This project was kind of done opportunistically. I had a broken cheapy Windows 2-in-1 tablet that came into my possession that had an incredibly swollen battery and a broken screen. When I got it, I initially intended to use it as a desk calendar that would sync with my CalDAV accound and show upcoming events and suchlike, but my plans changed when I discovered the screen was broken (It was probably me who broke it, trying to free the batteries from their adhesive prison).
The material selection for this project isn't the best, it's either stuff I had to hand or that I cou1d get shipped in quickly or purchase from local shops. There was no real planning process either, it's just a project that was done for the sake of doing someting, and ending up with a thing that was vaguely useful.
The Tablet
The whole reason for the project was to make some use out of an electricly-fine but physically-damaged Windows tablet. I'm the kind of guy who people just give broken stuff to so I got it for free with the only known fault being a very bulgey battery.
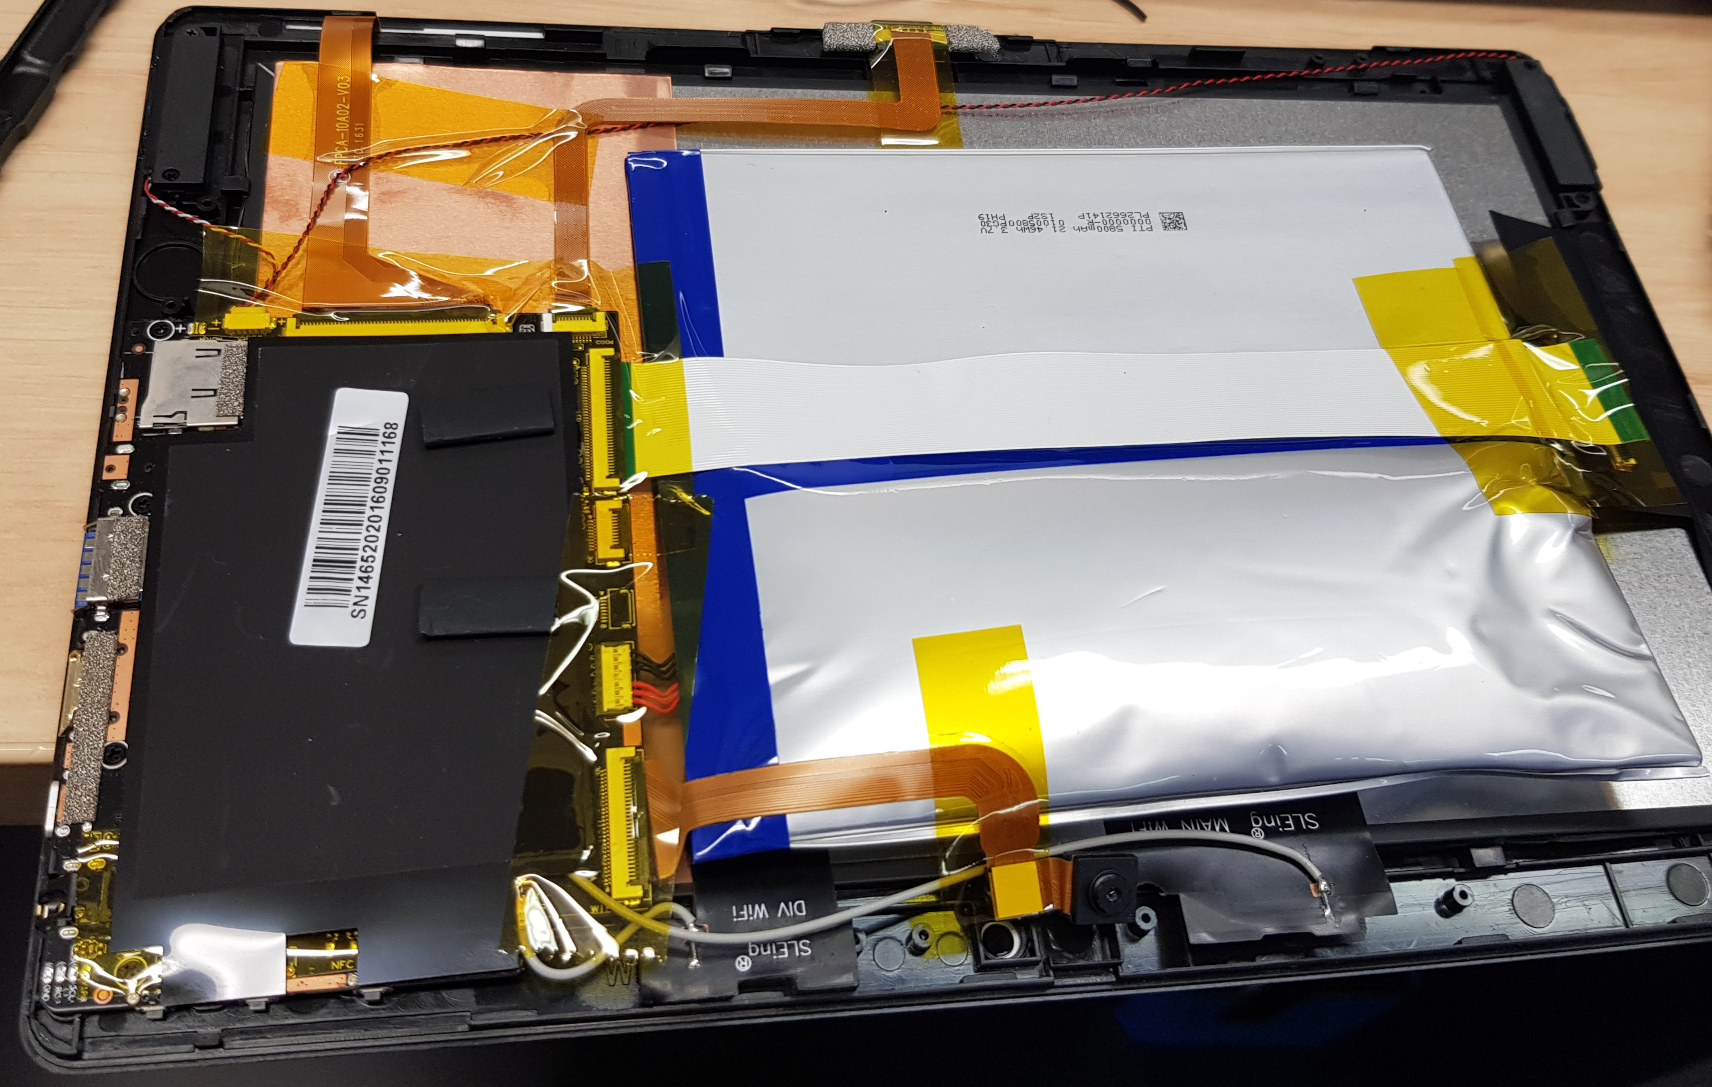
I removed both cells and tried booting it from just AC power alone, but as is usually the case with laptops and tablets, it refused to boot without a battery. I had a closer look and the cells are arranged in parallel, so I removed just the puffy cell, and reconnected the remaining good cell to the computer, and it booted just fine. But it had a smashed up screen.
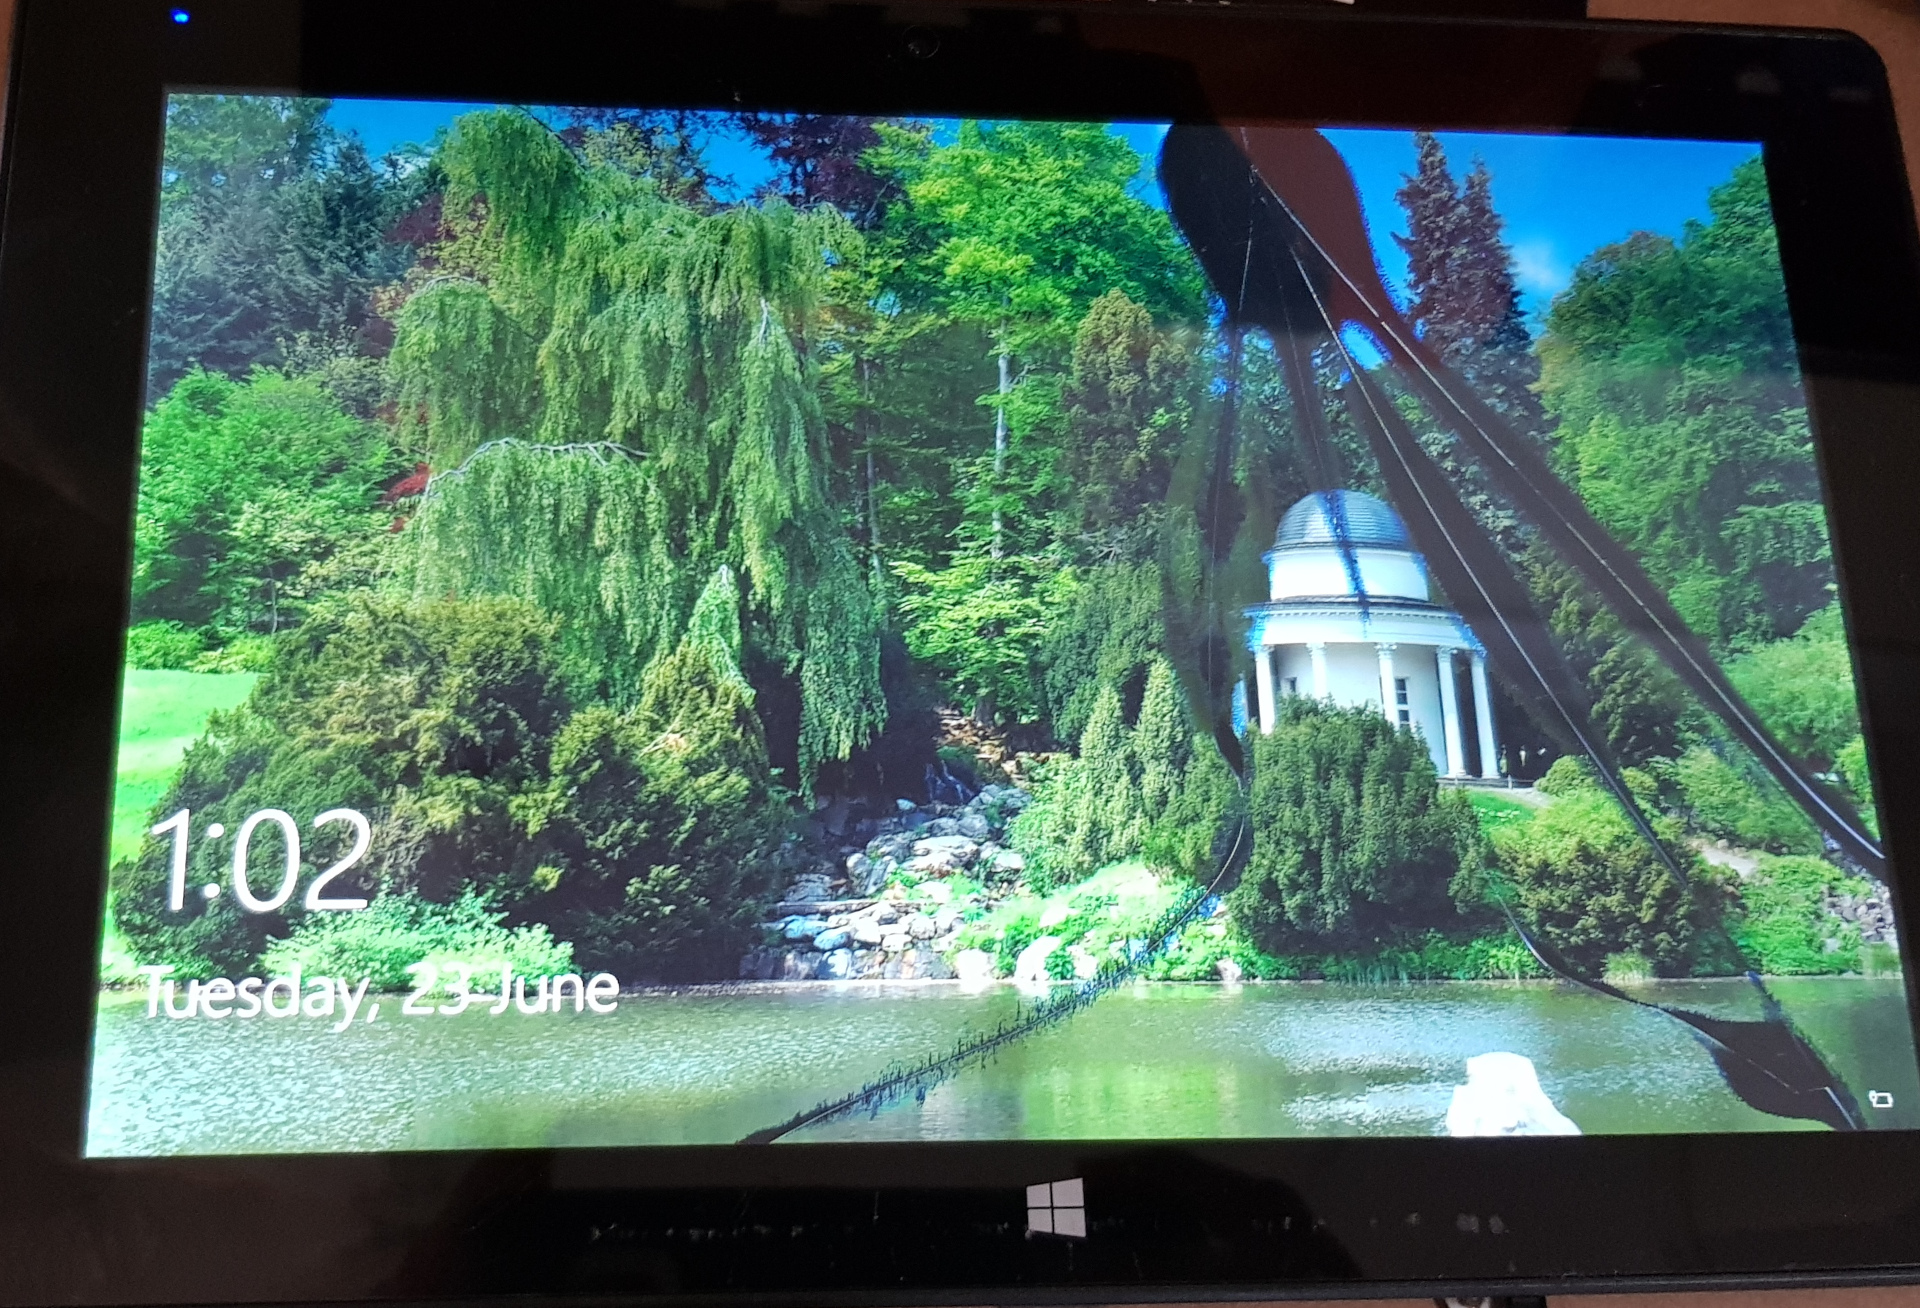
Disconnecting the screen internally made the BIOS appear automatically on the HDMI output, so I began on the software installation and setup, as it was still a useable computer and the motherboard was utterly miniscule so I'd be able to shove it in something.
Software
Software was a farely straightforward affair, it's a computer after all so it runs Linux just fine. I put a fairly basic Arch install on it, including Samba, feh, i3, openssh, and a few other utilities I thought might be useful. At this point I still had plans of using it as a calendar, so I installed khal too, and a webdav syncer.
The only real hurdle to overcome is that this era of Intel Atom CPU present in the tablet has a slightly odd configuration of a 64-bit CPU, but 32-bit EFI environment. If you ever come across a situation where you're trying to install linux on an old nettop or windows-8 era tablet, double-check that. There's a relavant page on the Arch wiki.
After messing around with my calendar ideas and deciding that I wanted a small device, and that it'd be impractical to make it a calendar due to unreadibility from a distance, I settled on a very basic software configuration. It simply automatically logs in as a dedicated user, starts X, launches i3, which then launches feh with the appropriate command line flags.
Images are loaded over samba for Windows computers on the network, and sftp (using sshfs) for linux clients.
Feh is very well suited for this purpose as it has a dazzling array of features and can be set up to behave almost however you'd like. The key features that made me select it for this purpose were its ability to randomise slideshow playback, recurse through directories, and crucially, it has the ability to periodically refresh its file list, meaning that the program does not have to be re-started when new images are added. You can simply add files to the directory structure you point it at, and when it's their turn, the images will be displayed. It'll even update images its displaying currently if you edit and re-save them! The magic command I used was as follows:
feh -.zsrZYFD 3600 -R 60 ~/Pictures/SD
In simple terms, that command will display images in that folder in fullscreen in a random order and change photos every 3,600 seconds (every hour), and refresh its playlist every 60 seconds. This means I do not have to re-start feh every time I want to add a photo, I can just copy it live and it'll be added to the rotation.
Breaking it down further, the following flags were used, along with their meanings:
- -. which scales images down to fit the window geometry, so images that have not been scaled will still be useable
- -z which randomises the file list before starting the slide show
- -s which is like the opposite of -. and will scale images up to fit if they are too small
- -r which recurses down folders from the parent folder given, so that I can organise my photos in directories but still have them play in the slideshow
- -Z auto zoom, zooms pictures to screen size in fullscreen mode (similar to -s, I couldn't work out the difference so I used both)
- -Y hide pointer so my picture frame doesn't have a mouse pointer on screen
- -F fullscreen, fairly self-explanatory.
- -D Slideshow delay, in seconds. After this amount of time, Feh will display the next item on the list
- -R Refresh interval in seconds. This means you can add photos to the folder and Feh will incorporate them without having to re-load the program.
That command was just placed in my i3 config file to start, but it could equally be placed in your .xinitrc file for whatever user automatically logs in if you don't forsee needing a window manager. Something to keep in mind though is that X11 appears to by default (on Arch Linux at least) blank the screen after some period. If you chuck these magic incantations in .xinitrc it will disable the behaviour:
sleep 1

xset -dpms

xset s off

xset s noblank
Framing
I probably would not recommend following in my footsteps for framing. I was only using what I had to hand, it's definitely got a "homemade" feel to it. In particular, if you plan on doing something similar, I'd suggest just trying to find some place that can professionally cut matting to size for you, it'll look a lot better.
In my case, I had bought a 7-inch IPS HDMI display sold by Waveshare, and that I could find in stock at a local supplier (this one). IPS is a great choice for this, it has fantastic viewing angles for LCD, something very important for this application. Once I had the screen I gave it a quick test before moving on.
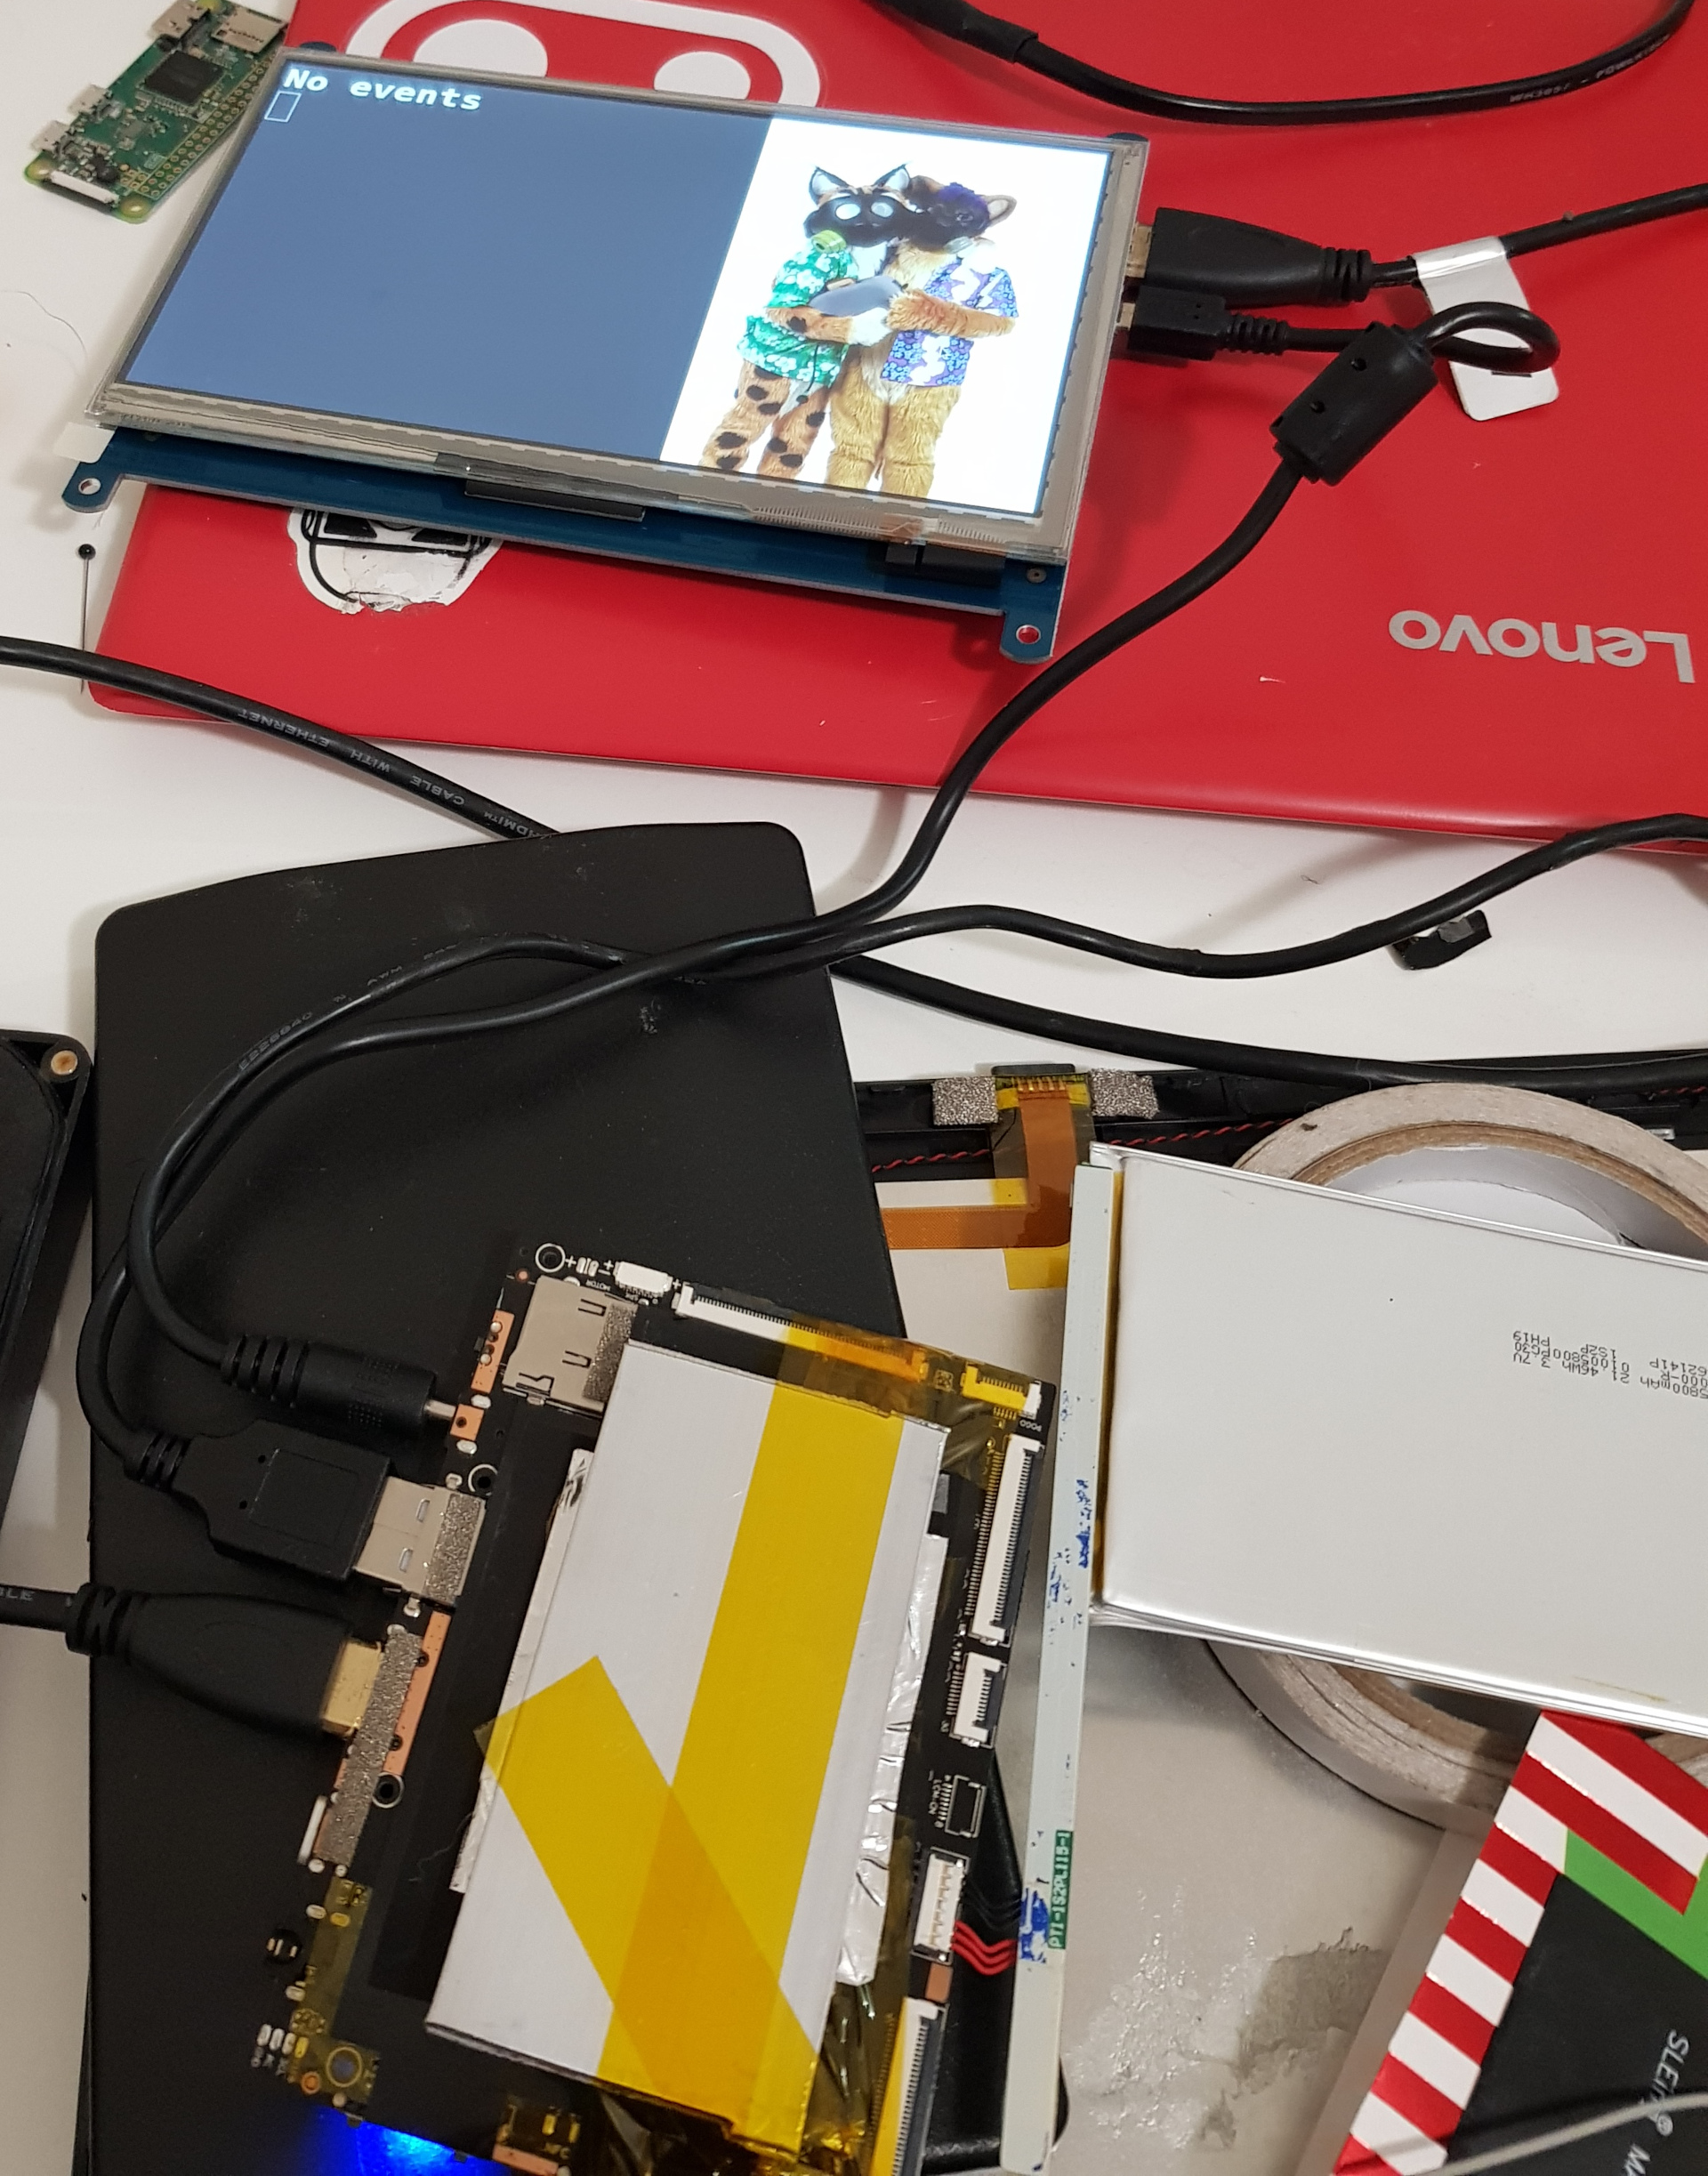
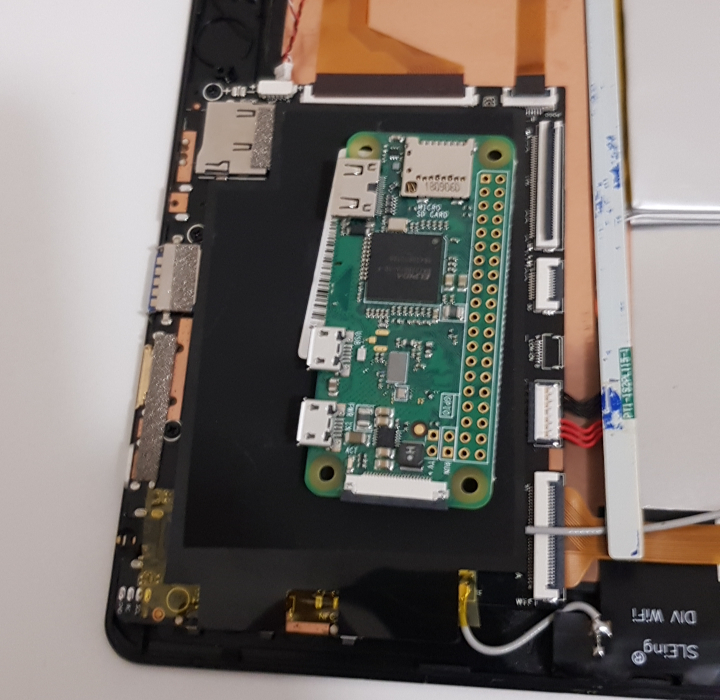
You'll note there's some aluminium taped to the mobo. This is because the original thermal design of the tablet was to dissipate it through the screen, which was now removed, so I cut some aluminium I had to hand and taped it to the mobo.
The "tricky" part of framing is getting the visible area of the screen centred and square with the glass of the pphoto frame and "matting." Kapton tape solves all my poblems so I used that, taping from corner to corner of the frame's glass and the visible area of the screen, giving me a centre point to eyeball.
Once lined up, I could then mark on the outside face of the glas where the edges of the screen where, again I used kapton tape but any tape will do really. With all that on, I can then flip the glass over, and apply my "matting." I cheaped out, and used that book cover plastic wrap as my matting, which only cost me a dollar, but it definitely does not look as nice as other solutions, such as paying a professional to cut out matting to your desired size.
Some pointers if you do use the same cheapy method as me, make sure you clean the glass thoroughly. Picture frame glass for whatever reason always has a strange film of some oily substance, which will prohibit adhesion. I cleaned mine with isoprop, which worked well. Also be sure to use "good edges" of the material, like the sides which were cut at the factory and thus probably far straighter than anything you could do at home with basic tools.
After applying my "matting," I stuck the screen down using double-sided tape I had to hand, which seems to have worked rather well. I then moved on to mounting everything else.
Final Assembly
Now essentially all that was left to do was to make a back to the frame, add a couple of buttons, and cable everyhting in! I wasn't too terribly concerned about looks, but I wanted it to be relatively clean, and have separate buttons for controlling screen power, and break out the system power button. A convenient way of getting power to the system was on order too.
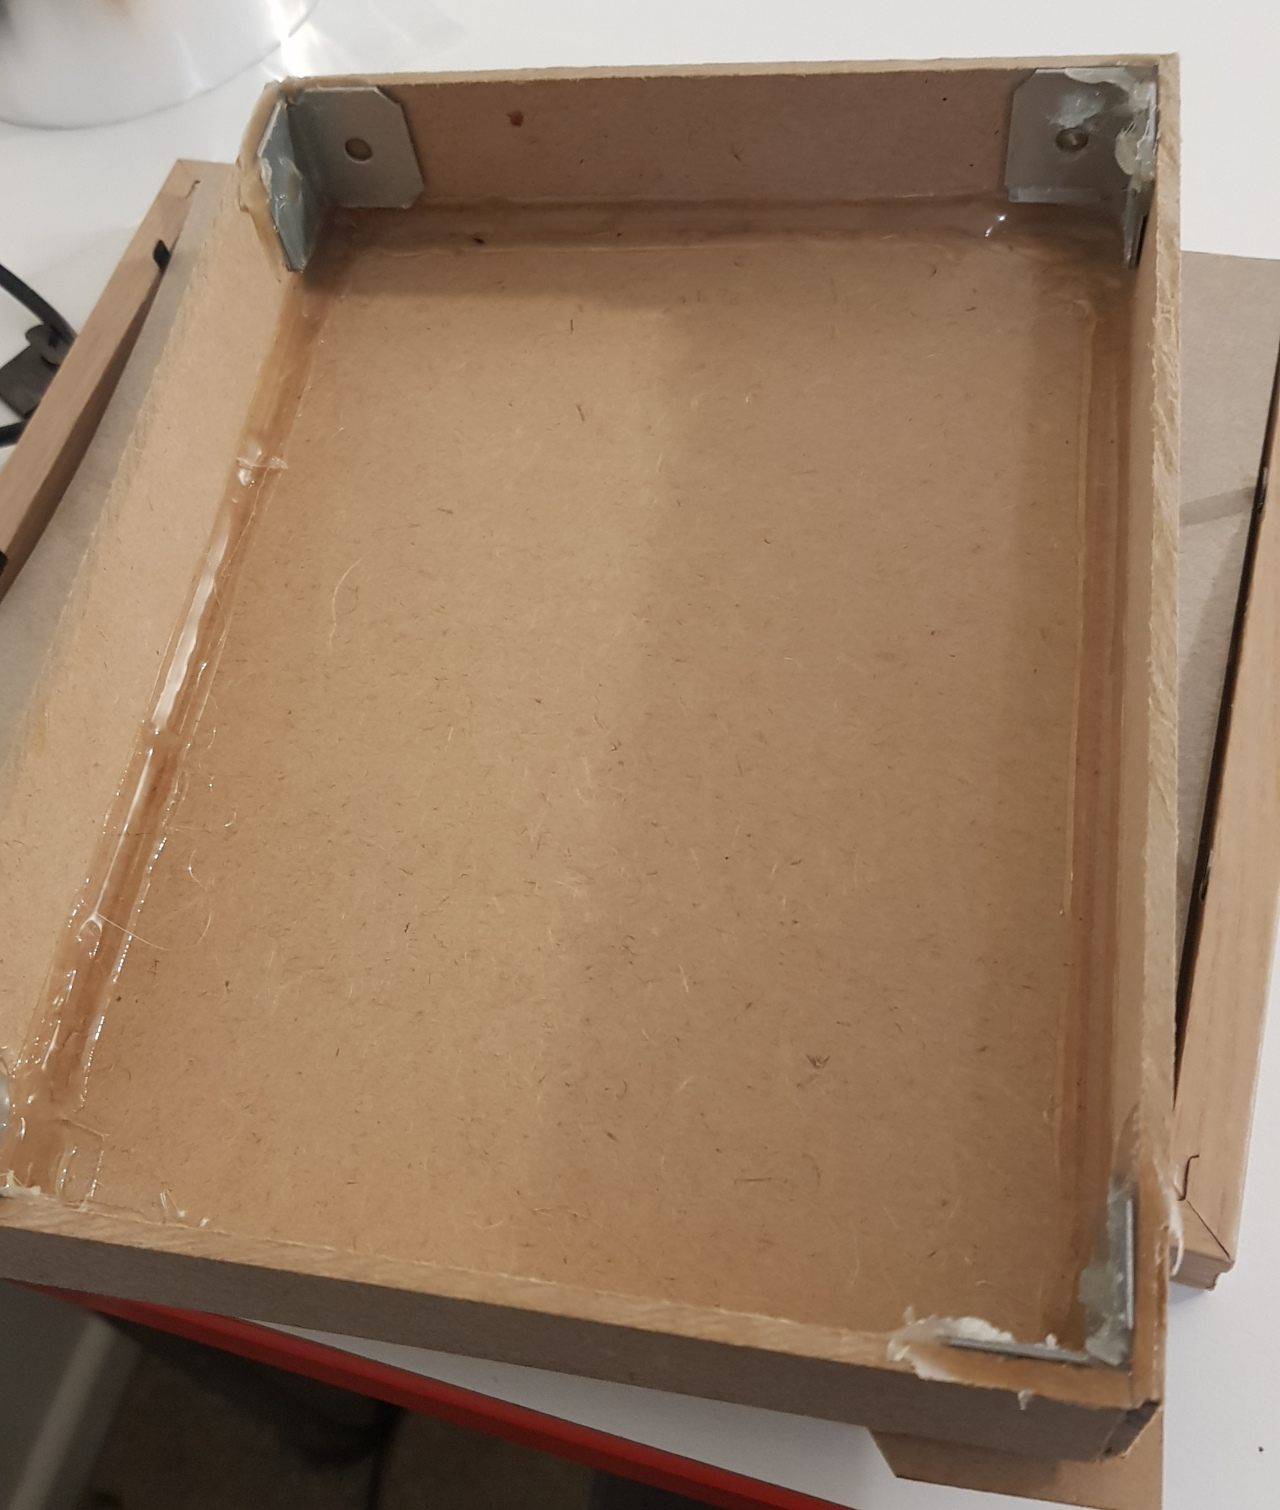
The back of the frame was simply made out of the original back of the frame, along with some MDF of the same thickness, cut to size. Hot glue was used for assembly since it's all I had to hand, as well as some angle brackets that I had. Be careful if you choose to use right-angle brackets, they are rarely exactly right angles and often slightly less. A low-efford trick I used here to neatly affix the back of the box to its sides was to just run a bead of glue on the inside seam, which worked better than expected to affix the pieces together.
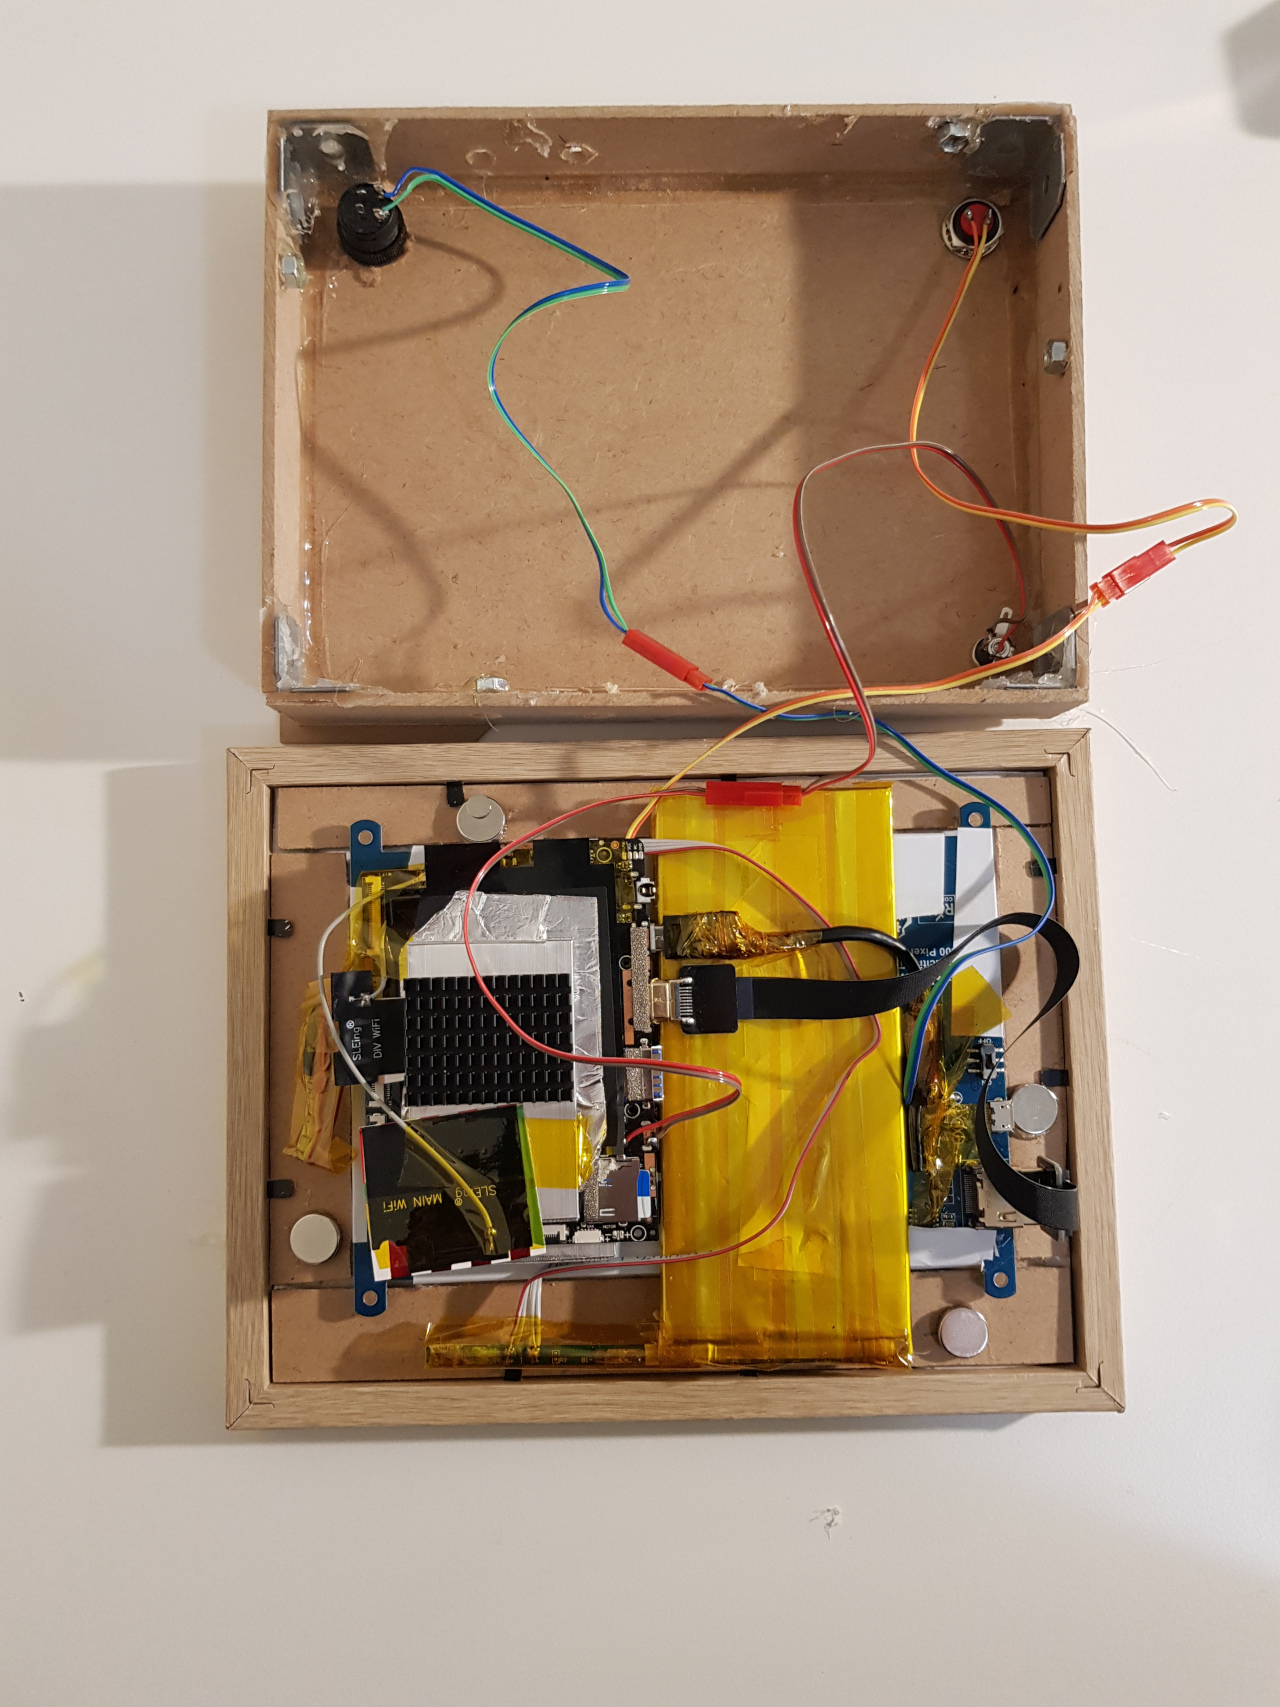
I broke out all the connections I cared about from the botherboard, soldered a severed USB OTG cable to the back of the display, and installed a compact DIY HDMI cable so that I could connect the screen inside the case. I secured everything with either foam tape, kapton tape, velcro, or a combination. I affixed some magnets in place with hot glue and some nuts in matching places on the back, and it was done!
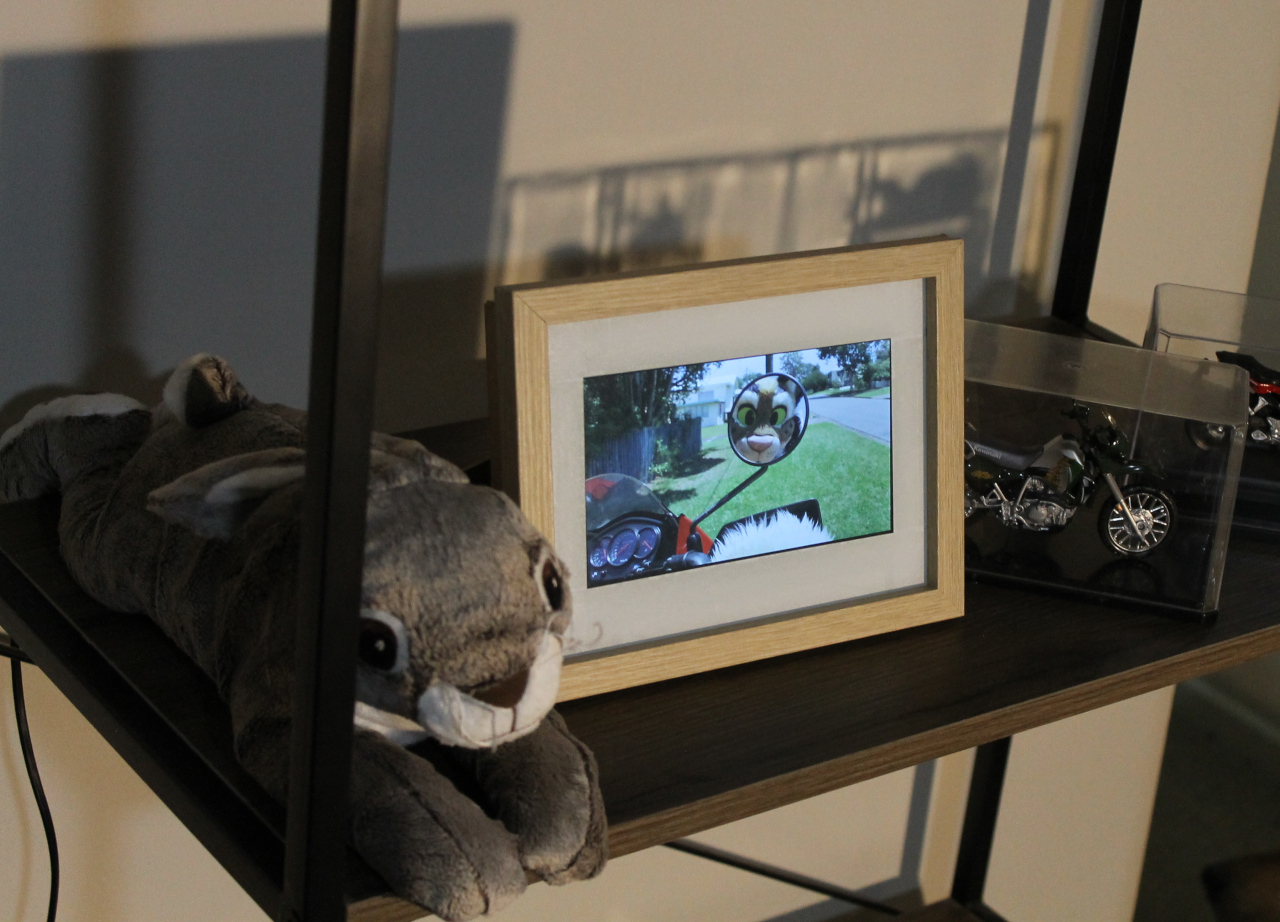
And that's it! All that was left to do was put it on a display shelf and put some photos on it.
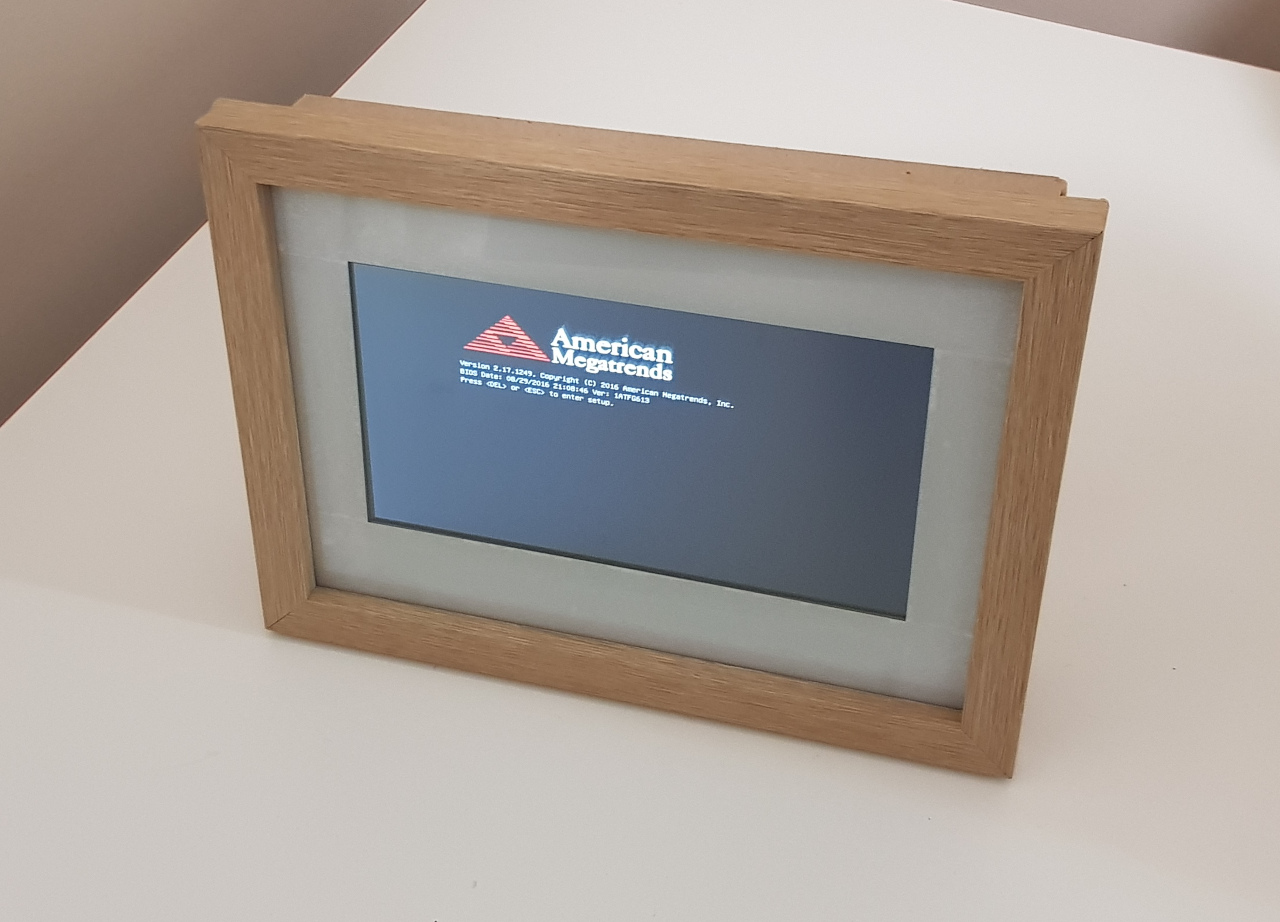

Hardly looks out of place at all!
